(1). CPU: Andes RISC CPU core_N12.
(2). 平台: ADP-XC5FF676 V1.1.
(3). Linux OS: Ubuntu9.04.
(4). Toolchains: AndeSight v1.3.3 for Linux.
(5). Embedded Linux2.6.18
(6). Verilog IDE: Xilinx ISE 11.1 .
2. 目的: 下載〝Xilinx ISE〞,這裡下載是選擇Linux 版本.
3. 實驗步驟:
下載〝Xilinx ISE〞:
(1). ISE下載前先至下列網站申請帳號:
http://www.xilinx.com/support/download/index.htm
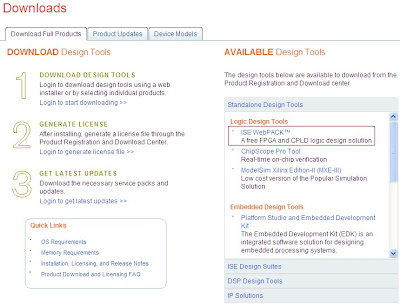
(2). 選擇〝ISE WebPACK 〞.
 (3). 選擇〝Download ISE WebPACK software for Windows and Linux〞.
 (4). 按下〝Create Account〞申請ID.
 (5). 依下列所述填入資料,按下〝Create Accoun〞.
 (6). 之後開啟自己的E-mail信箱,Xilinx已核准了User ID,點選E-mail信箱內的網址.
 (7). 輸入〝User ID〞與〝Password〞後按〝Sign In〞.
 (8). 依下列所述填入資料,按下〝Next〞.
 (9). 至〝1.Download Software〞->〝ISE Webpack〞,下載檔案.
 (10). 至〝2.Download Updates〞,下載ISE Update檔案,這裡我選擇〝Update for Linux 32〞.
 (11). 至〝3.Create New Licenses〞申請license,將下列30天期限的選項打〝V〞,在按〝Generate Node-Locked License〞按鈕.
 (12). 之後將〝2 SYSTEM INFORMATION〞的Host ID 選擇網路卡的MAC ID後,按〝Next〞.
 (13). 做最後檢視,按〝Next〞.
 (14). 關閉〝Congratulations〞視窗,再按〝Download〞下載license.
沒有留言:
張貼留言